How to Style Your Dishes for Stunning Food Photography
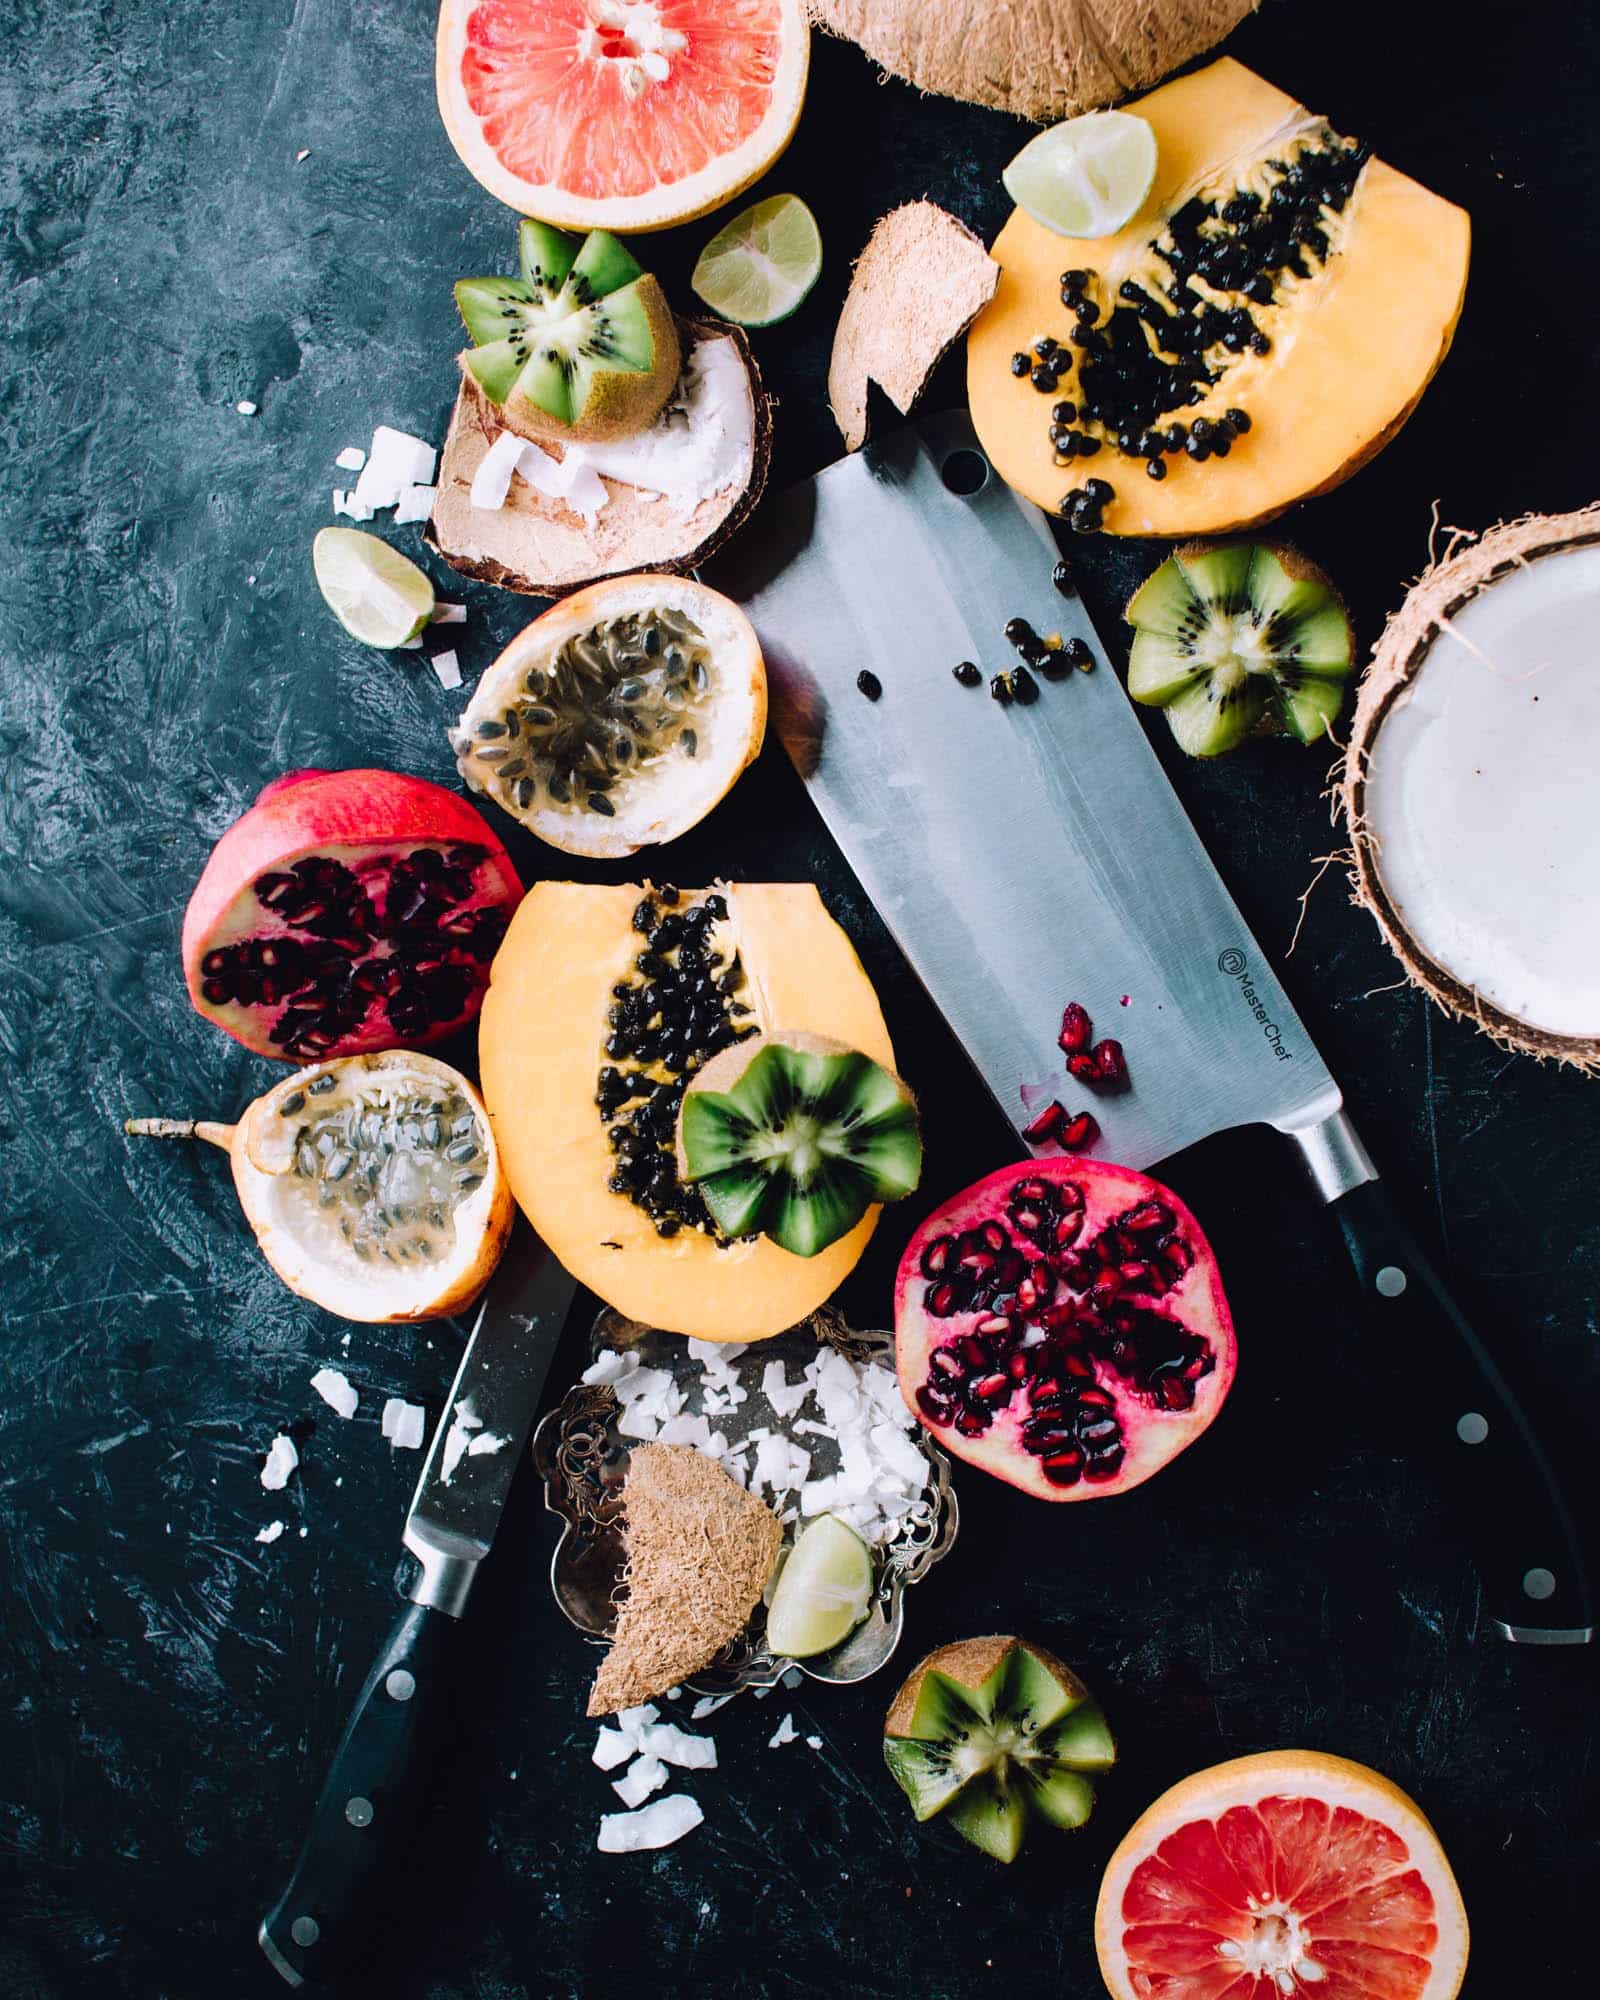
Styling your dishes for food photography is an art form that can truly elevate your culinary creations. To start, consider the colors on your plate. A well-balanced composition can be achieved by incorporating a variety of hues. For instance, pairing vibrant greens with rich reds can make the dish visually appealing. Additionally, the use of garnishes like fresh herbs or edible flowers can add a pop of color and enhance the overall presentation. Experimenting with different textures, such as crunchy nuts alongside creamy sauces, also plays a crucial role in creating a stunning visual.
When it comes to photographing your styled dishes, lighting is essential. Natural light is generally preferred, as it enhances the colors and textures of your food. Position your dishes near a window to take advantage of soft, diffused sunlight. Using props can further enhance your composition; consider incorporating stylish plates, cutlery, or rustic tablecloths. You can also explore different angles—overhead shots often provide a comprehensive view, while close-ups focus on intricate details. Remember, practice makes perfect, so don’t hesitate to experiment until you find the perfect style for your food photography!
10 Tips for Capturing Instagram-Worthy Food Shots
Capturing Instagram-worthy food shots requires a blend of creativity and technique. Tip 1: Natural light is your best friend. Whenever possible, position your dish near a window to take advantage of the soft, diffused lighting that enhances colors and details. Tip 2: Use props to tell a story. Adding utensils, napkins, or even a glass can create context and elevate the composition. Tip 3: Experiment with different angles. Shooting from above works well for flat-lays, while a side angle highlights layers and textures, making your dish look even more appetizing.
Tip 4: Don't forget the background! A clean and uncluttered background can help your food pop. Tip 5: Focus on the details by getting close. Capturing the texture of a crust or the drizzle of sauce can create a mouth-watering image. Tip 6: Use editing apps to enhance your photos post-shoot; a little adjustment in brightness, contrast, or saturation can make a significant difference. Finally, Tip 7: Practice is key! Keep experimenting with different settings, dishes, and styles to find what works best for you.
The Best Lighting Techniques for Photographing Culinary Creations
Lighting plays a crucial role in photographing culinary creations, as it can enhance the colors and textures of your dishes. Natural light is often the best choice for food photography, providing a soft and inviting look. To maximize the benefits of natural light, try shooting near a window during the golden hour, which is the hour following sunrise and before sunset. This time offers a warm, diffused light that beautifully highlights your culinary creations. If you're shooting indoors and the light is too harsh, consider using sheer curtains to soften the sunlight and create a more appealing ambiance.
When natural light isn't available, you can rely on artificial lighting techniques to achieve similar effects. Softbox lights or LED panels can be adjusted to create the desired ambiance while eliminating harsh shadows. Don't forget to experiment with reflectors; using a white board or a piece of white cardboard can bounce light back onto your food, enhancing the shine and detail. Moreover, always keep an eye on the color temperature of your lights, as varying colors can affect the final appearance of your culinary photographs. By mastering these lighting techniques, you can elevate your food photography and entice your audience with stunning visuals.